Blog
Setting Up Your Private Lab for Ethical Hacking

Emmanuel Umelo
Posted: September 09, 2025

Setting Up Your Private Lab for Ethical Hacking
Cybersecurity is an evolving field. Year in, year out, the number of devices connected to the internet continues to show a significant rise. In 2025 alone, according to Statista, 19.8 billion Internet of Things (IoT) devices are currently connected to the internet, with an expected doubling to over 40.6 billion by 2034. With AI and immersive technology, for instance, cyber attacks have become more sophisticated. Malicious actors are testing new methods to exploit potential vulnerabilities. For cybersecurity professionals, ethical hackers, and pentesters alike, there is a constant need to build, sharpen, and hone their skills to help mitigate these evolving threats. In this content, we will walk through how to set up your private lab environment or playground. This privately controlled environment gives you a safe space to practice, test, and grow your knowledge. It ensures there are no risks in breaking systems or violating legal boundaries. Lets break this further down, but first, you must consider the legal and ethical side of things.
Why This?
A lot of beginners don't know where the legal lines are.
- Only hack what you own or have permission to test.
- This lab is for educational purposes only. Always ensure you operate within legal boundaries, and make sure you hack and do all your practice in your safe environment.
Laptop/System Specifications:
- A PC running the Windows Operating System (e.g, HP, Dell, etc.)
- Intel Core i5 and above (Preferably AMD Ryzen 5 and above).
- Minimum of 8GB of RAM.
- 256GB SSD (Preferably 512GB storage to 1TB and upwards).
- A CPU processor of 4.0 GHz
- Minimum of 4GB of GPU
Hardware Selection
Why Hardware Matters:
Ethical hacking labs require stable performance since they often run multiple virtual machines and simulate complex network environments. Performance issues such as lag, crashes, and limited testing capability can occur not only on underpowered systems but also when system resources (CPU, RAM, storage) are not allocated properly between host and virtual machines.
| Components | Recommended | Why This? |
|---|---|---|
| CPU | Intel Core i5, i7, and above (Intel or AMD) | Handles multiple VMs and heavy tools (like Burp Suite, Metasploit) |
| RAM | Min 8GB and above | More memory means smoother multitasking in virtualised environments |
| Storage | 512 GB SSD minimum | Faster VM boot, quicker tool execution |
| GPU | Optional (integrated is fine) | Needed only for password cracking with tools like Hashcat |
| Cooling | Optional (integrated is fine) | Hacking labs can cause the CPU to overheat during intense scans |
Risks of Weak Hardware:
- VM freezing or crashing
- Inability to run high-capacity tools
- Slow boot times for the guest OS
- Unreliable testing results (e.g., packet loss, lag)
- Low computational power is required to brute-force
Note : While financial challenges may affect acquiring a better laptop, having a system below these specifications can be frustrating. For instance, brute-forcing and cracking hashed passwords require enough system power and performance. Things like the Graphics Processing Unit (GPU) and memory, powering your virtual machine, and so on, can slow your system down if the specs are below standard.
Lab Setup:
There are several machines, software, and tools needed to set up your private lab properly:
- Virtualization Software
- Oracle VirtualBox
- VMware Workstation
- Attacking Machine
- Kali Linux
- Parrot OS
- Arch Linux
- Target Machine-(Vulnerable Systems)
- Metalsploitable 2
- Mr Robot
- DVWA
- Owasp juice shop
- Window Machine (Windows hacking/Privilege Escalation)
- Windows 7 (XP)
- Windows 10
Let's explain these terms:
- Virtualisation softwareis what helps in running multiple virtual machines (VMs) or Operating Systems (OS) without causing harm or overloading your host system. By virtual machines, we mean having a separate computer that runs its OS and programs but is anchored on the same hardware as the host computer.
- Attacking Machines are systems used to launch attacks and payloads on your target.
- Target Machines/Windows systemsact as targets, simulated after real-world systems and applications. It is the machine you hack while learning or honing your skills.
Downloading your Tools/Machine: OS Provisioning
- Virtualization software; This includes Virtualbox and VMware
https://www.vmware.com/products/desktop-hypervisor/workstation-and-fusion
- Attacking Machine: Machines/OS like Kali Linux, Parrot OS, and Archlinux
- Target Machine: the following link below contains Vulnerable target machines for hacking, such as Metasploitable 2, DVWA, OWASP Juice Shop, Vulnhub, etc.
https://sourceforge.net/projects/metasploitable/files/Metasploitable2/
- Windows ISO: Windows target machines such as Windows 7 & 10
Lab Setup Walkthrough
Installing Virtualbox/VMware
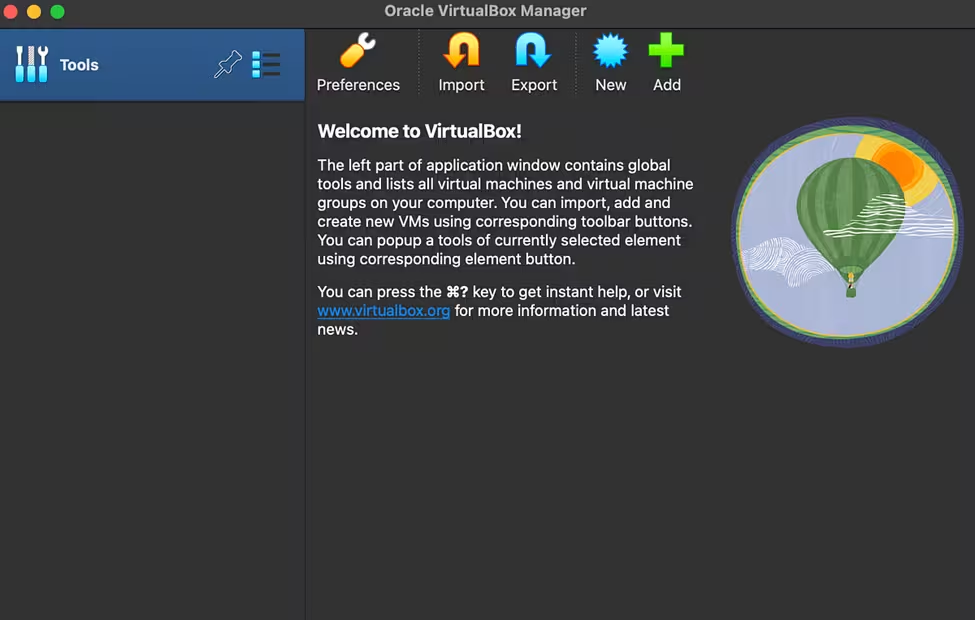
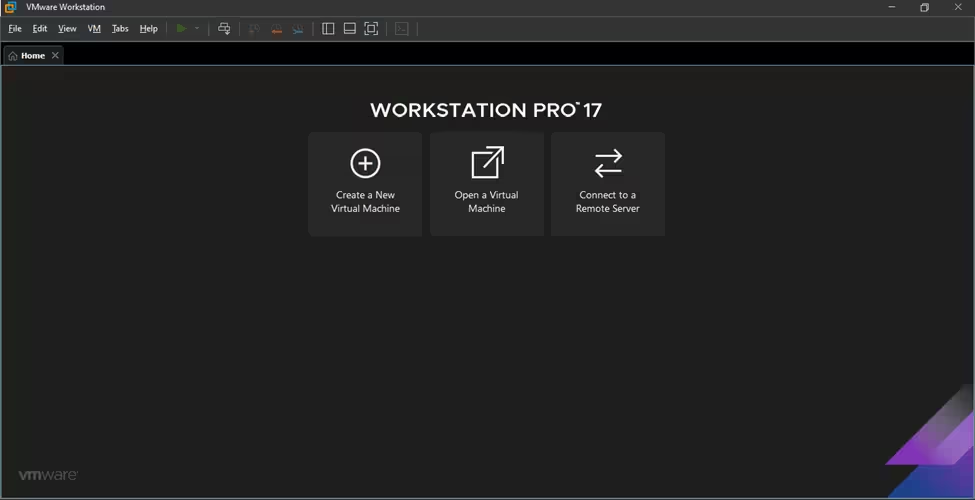
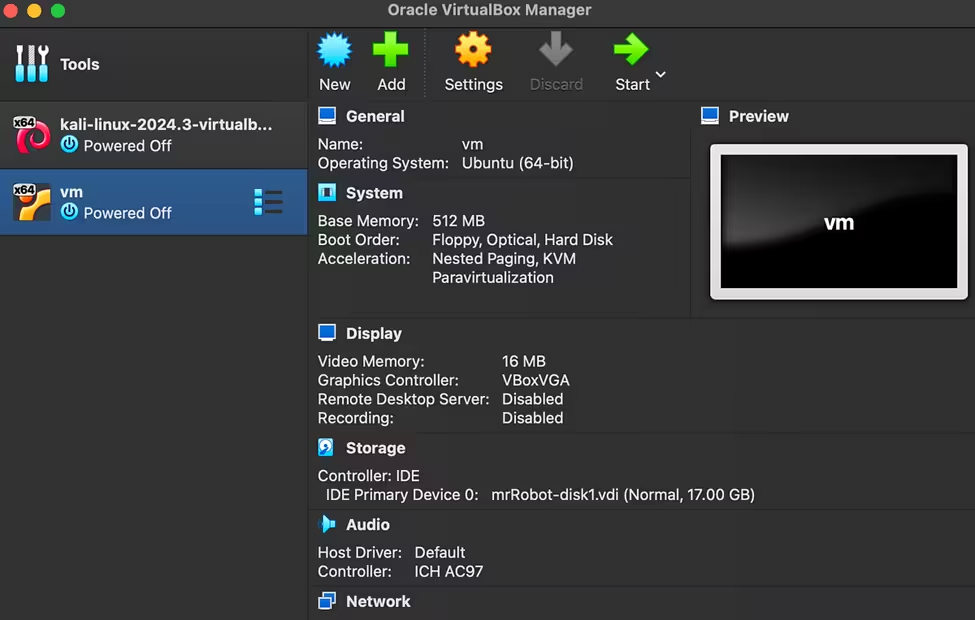
To download VirtualBox, refer to the downloads page above. Then download the virtual machine of your choice. Download the package and install it. Once installation is complete, you should see a similar page like the ones below.
Now we are going to be installing Kali Linux and Mr Robot as an instance.
Why Visualization?
- Easy snapshot/rollback
- Network sharing & connectivity
- Easy communication between the Host and Virtual machines
- Resource sharing and allocation
- Test malware and exploits in isolation
BIOS/UEFI:
- Enable Virtualization (VT-x/AMD-V) from your BIOS setup.
Installing Kali Linux
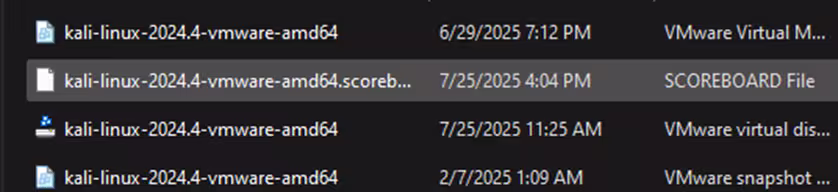
- To install our attacking machine, extract the .7z file from the Kali Linux download. Then, click the green “Add” icon on the VirtualBox interface and point to the .vbox file
- All the default settings will be applied, and you should have the attacking machine installed. If stuck, you can find the detailed instructions here.
- Don't start the machine yet. Add the target machine as well, followed by changing a few networking settings. Then we can start hacking.
Installing a Target VM
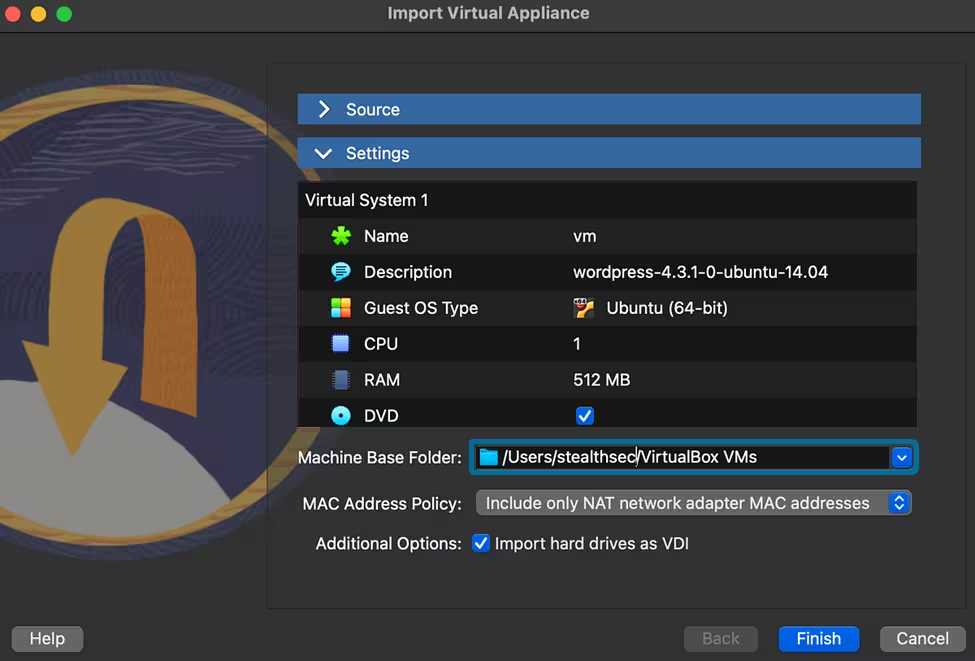
- To install the target VM, double-click on the downloaded mrRobot.ova file, (remember I specified the link above to download Mr Robot from Vulnhub, pls revert to it if you forgot.)
- Use the default settings and click “Finish”.
- Once both the attacking and target machines are set up, both machines will be listed.
Now let's update the network settings to make sure our VMs are secure.
Network Architecture Settings
There are many ways to set up a network in VirtualBox. In our case, we want to isolate our lab from the public internet. The best way to do this is to set up a host-only network. In a host-only network, the VMs can communicate with each other but not with the public internet.
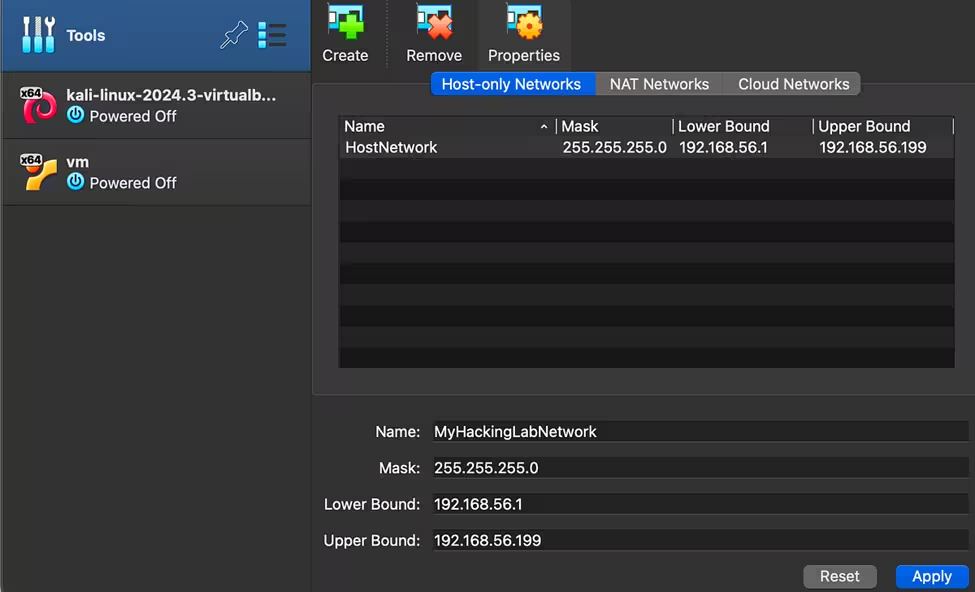
- In the VirtualBox interface, click on “Tools” and click “Host-only Networks”
- Then click “Create”. This will automatically create a host-only network with an IP range.
- For simplicity, let's change the network's name to “MyHackingLabNetwork”, or you can leave it like that to the default settings if you want..
- Click “Apply”. Now we have a host-only network.
- Next, let's configure our virtual machines to connect to this network.
Why This?
- Prevent your attack tools from affecting your real network
- Simulate router/firewall bypass scenarios
Optional
- Use pfSense VM as a firewall/router
Why This?
- Emulates perimeter defence systems
- pfSense Download: https://www.pfsense.org/download/
To configure the Virtual Machine,
- Click on the “Settings” icon in the Virtual Machine.
- Under “Network”, choose “host-only network” and choose the name as “MyHackingLabNetwork”.
- Click “OK” once done.
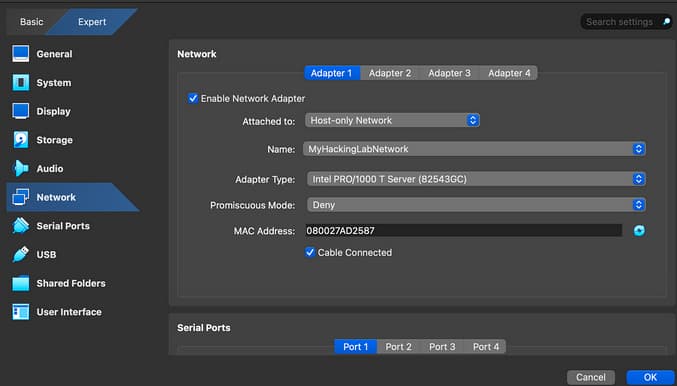
Additional Tips: Do the same for the target machine. The IP addresses for these virtual machines will automatically be assigned by our “host-only” network.
Booting the System
To see if both machines are installed properly, boot them.
Note :Both machines will show a default option to start up. Just press Enter . If the VM looks small on your screen, click View and click on Scaled Mode on the top menu.
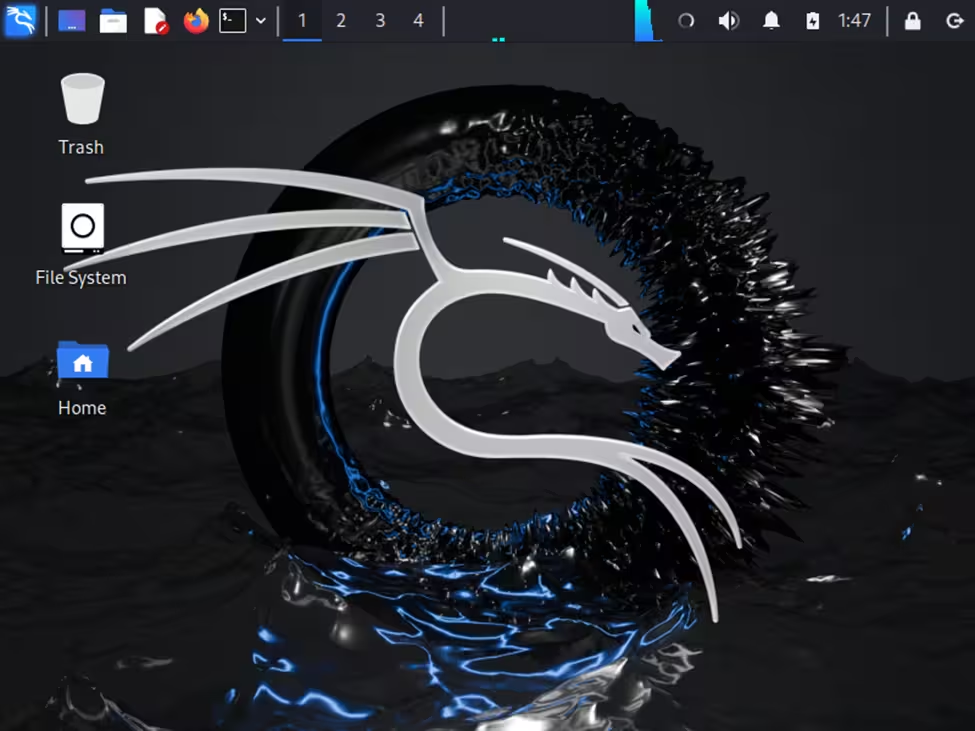
The username and password for the Kali machine are “kali”.
You should see the Kali Linux UI as shown below:
For Mr.Robot box, you should see the following UI:
Launch your Windows machine and get ready to start hacking the Windows system.
Advanced Tooling
Once your basic lab is up, install advanced tools to simulate deeper attack chains.
Suggested Tools:
| Tool | Function | Package |
|---|---|---|
| Burpsuite | Exploitation framework | Comes with Kali |
| Metasploit | Packet analysis, sniffing | Comes with Kali |
| Wireshark | Password cracking with GPU | Comes With Kali |
| Hashcat | Network simulation for infrastructure hacking | Comes with Kali |
| GNS3 | Containerised environments for web services | Install via GitHub |
| Docker | Lightweight, great for building custom packages or malware testing | Install via GitHub |
Maintaining your lab
Keeping your lab updated and functional is essential.
Snapshot Management
- Take VM snapshots before major changes or exploit tests
- Revert if you break something
Updating Guest Additions:
- Keeps clipboard sharing, screen resolution, and shared folders working properly
- In VirtualBox: Install Guest Additions CD Image
- In VMware: Install VMware Tools
Replacing Outdated VMs:
- Update your Kali/Parrot ISO quarterly
- Refresh vulnerable targets yearly to align with new techniques
- Clean old snapshots to save space
Additional Tips
- Use Bridged Networking only when testing externally or scanning your real network
- Keep a hacking journal-document commands, payloads, flags
- Practice legally-always stay in isolated environments unless you have permission
References:
Ethical Hacking- Reinvent Security | Cybersecurity Laws and Regulations - Canada (ICLG)